|
Below is the video I led for the Marion Council on Aging. It is a 40 minute practice based on the practices I share in person. Please enjoy and share with friends!
0 Comments
The video below is a Laughter Yoga Practice that I produced. It is designed for any age and ability. Laughter Yoga brings breath, energy and joy to your body. Give it a try! Click on the picture below!  Click on the image below for a Standing Yoga practice. All poses are in the standing position with adaptions given using a chair placed in front for support. This practice is geared for ages upper elementary and above. Please enjoy this practice.  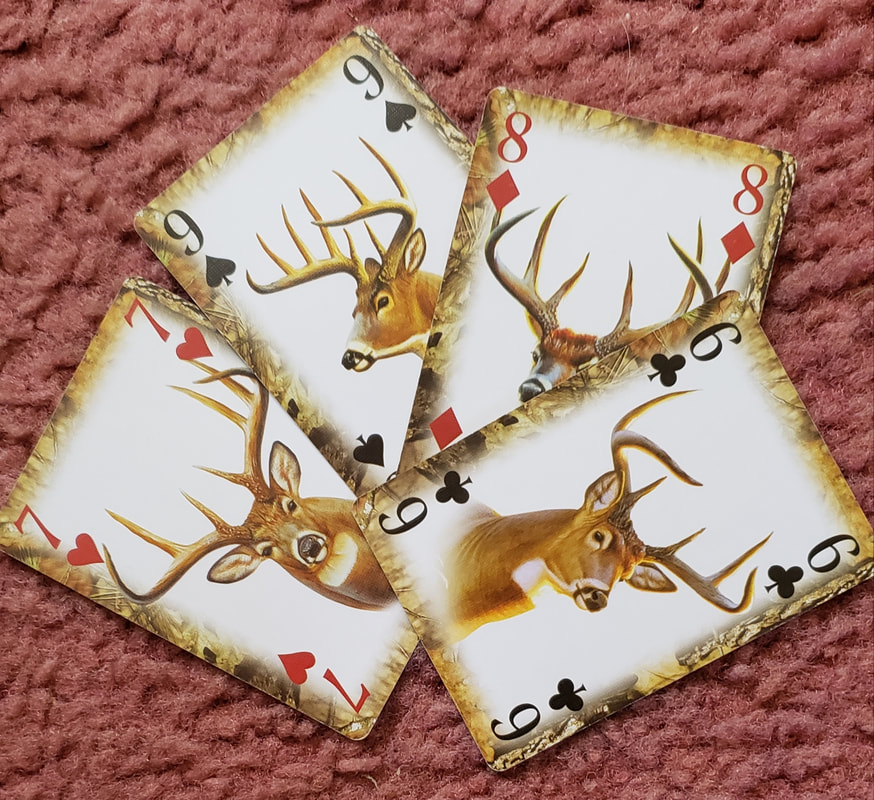 This is a fun workout based on one produced by Gleason Family YMCA. This version may be done in a chair, standing behind a chair or without a chair. Grab a pack of cards, follow along and have some fun! There are 3 levels of participation: Level 1: Sitting in a strong chair with feet on the floor. Level 2: Standing behind a strong chair using the support of the chair back as needed. Level 3: Standing without support. It may be you will participate at different levels depending on the skill. Let the fun begin! 1. Pick a card 2. Note the number on the card: That is the number of times you practice the skill. 3. Note the suit on the card and match it with the pictures below. That is the skill you will practice! 4. Jack = 11 Queen = 12 King = 13 Ace = 15 5: HAVE FUN! 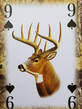 Level 1: Knee swing to side and back: Lift your left knee and slowly swing your leg to side. Slowly swing it back and lower your foot to the floor. Repeat your right side for a set. Level 2: Squats holding onto back of chair: Standing tall, bend knees and sit back and down. Level 3: Squats without holding onto chair. 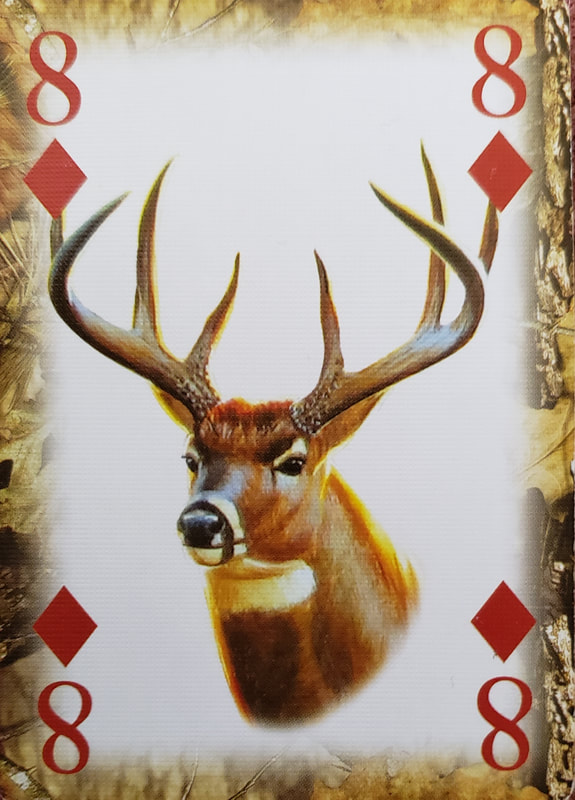 Level 1: Seated Knee Tucks: Lift left thigh up and hold for 2 to 3 breaths. Lower foot to floor. Repeat with right leg for a set. Level 2: Standing Knee Tucks: as above standing and holding onto back of the chair. Level 3: Sit-ups: any variety!  Level 1: Seated Jacks: Move both legs out to side while extending arms out in front. Return arms and legs back towards each other. Variation: alternate your legs Level 2: Standing Alternating Jacks: Alternate moving legs out to the side. With each leg movement lift arms out to side or in front. Level 3: Full Jacks: Arms may Move out and up toward ceiling or out in front. 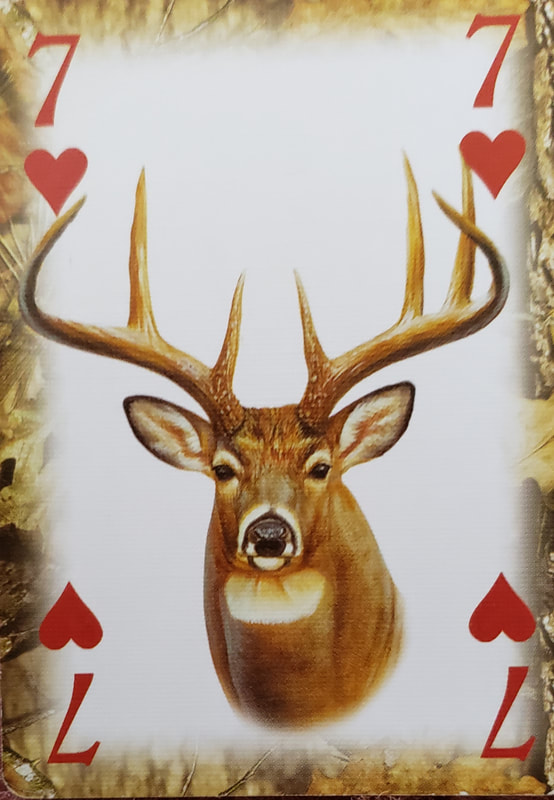 Level 1: Tuck and Push: Tuck both elbows back and by your
sides then push arms forward like you are pushing something. Level 2: Push Ups Against and Object: Find a solid object like a kitchen counter. Rest hands on edge of object and step back a few steps. Make sure your feet are anchored and will not slip. Lower your body toward object then push back up. Level 3: Push Ups: any variety  Those who take my yoga classes know I end my class saying "take a few moments to think about the things you are thankful for...from the the littlest of things to the not so little things." I found a great article in Yoga Journal that talks about seven ways to document your these things you are thankful for. The article also mentions that listing our thanks has positive affects on our whole body and our minds. When we list our thanks they outweigh the things that are not working so well.
Love how the article says to think of each thanks on your list as a gift! Think about the gifts we get...even the small ones. The article suggests to write about a person whom you are thankful for and maybe even write a letter to them about why you are thankful for them, whether you send that letter or not. Click on the box below to read the article. Let me know what you think and if you try any of the suggestions! 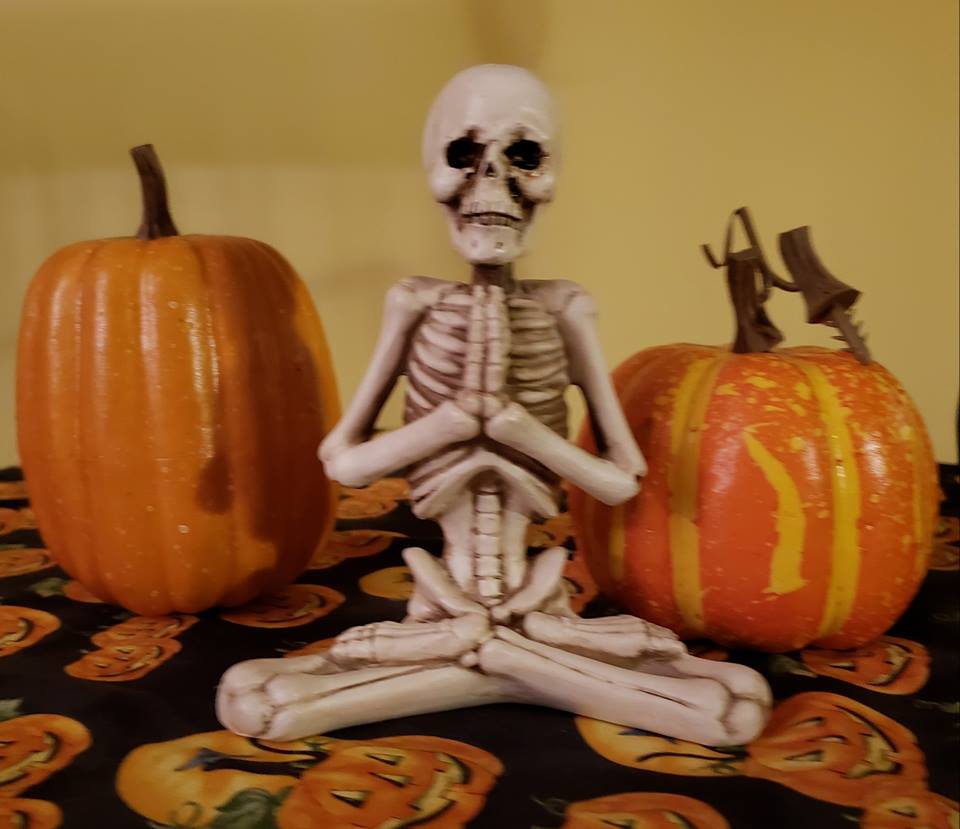 Photo by Pamela Smith Paquette 2018 Next week the Gleason Family YMCA is having a Halloween night for kids. I will be teaching Pirate Yoga! It will be a 20 minute yoga practice using Hatha Yoga but giving the poses pirate related names. For example, Downward Dog with be "shark," as it looks like a shark fin. The series of poses will be a story of sorts.
Last week I taught a Pirate Zencycle class! The 1/2 hour spin was to pirate music, I spoke in pirate and we dressed like pirates. During the 1/2 hour yoga practice I used pirate names for the poses and set it to a story of sorts. Pirate Yoga Link to kids yoga stories for ideas Below are links to a bunch of cool resources for Halloween themed yoga for kids and adults. Have fun! KIDS YOGA https://www.youtube.com/watch?v=Aw3JDtC8Us0 Youtube video with drawn images. Good for kids. https://www.kidsyogastories.com/halloween-yoga/ Pictures and a printable poster. Kids Yoga Stories is my go to more kids yoga. https://www.kidsyogastories.com/halloween-yoga-class-ideas-chair/ Yoga poses in a chair. ADULT YOGA https://yogainternational.com/article/view/dress-up-your-yoga-practice-for-halloween a great series by Yoga International with pictures and directions https://kiddingaroundyoga.com/blog/halloween-yoga-lesson-plan/ Halloween series of yoga postures with pictures https://www.yogajournal.com/practice/7-spooky-poses-celebrate-halloween#gid=ci020756ac300f25bd&pid=blackcat 7 poses with pictures Maybe you know someone who is pregnant and questions whether
Yoga is safe to practice during pregnancy. Or maybe you know someone who already practices yoga but wants to learn how to practice safely while pregnant. Yoga is safe to practice as long as some safe practices are followed. Important before practicing yoga: Make sure the doctor has said it is ok for mom and baby to practice yoga. There may be existing problems that preclude yoga practice such as pre-eclampsia. Here are some good references for safe practices for yoga during pregnancy: http://www.babycenter.com/404_is-it-safe-to-do-yoga-during-pregnancy_5699.bc http://www.babycenter.com/0_great-pregnancy-exercise-prenatal-yoga_7862.bc?page=1 http://abc-of-yoga.com/Yoga-and-health/Yoga-for-pregnancy.asp These references gave benefits for yoga during pregnancy, poses to avoid and poses that are beneficial. Things to avoid: poses on the back, and poses that overstretch the abdomen Poses to avoid: back bends, Backbends, Balancing poses on one leg (unless supported by chair or wall), Camel, Handstands, Headstands, Upward bow http://www.babycenter.com/404_is-it-safe-to-do-yoga-during-pregnancy_5699.bc Poses that are helpful: Mountain Pose, Triangle, Warrior, Standing Side Stretch, Standing Spread Leg Forward Bend, Seated Forward Bend, Fish, Tree Pose and More. http://abc-of-yoga.com/Yoga-and-health/Yoga-for-pregnancy.asp Are you pregnant or a parent? Check www.momlovesbest.com for lots of helpful information. Hope this is helpful! Its summer and bugs have arrived!
There are various kinds of bug repellents out there. Most contain chemicals that may not be good for our bodies, especially when we remember our skin absorbs what is placed on it. If you are concerned about what you put on your and your family's skin, try making your own bug repellent using Essential Oils. I recently tried and it worked (and I smelled great!). Organic Aromas recommends the following essential oils:
. Pine, etiver, Bergamot The article also recommends the following recipe for after insect stings and bites: 10 drops each of Tea Tree and Peppermint essential oils mixed and applied undiluted to area as often as needed. Please remember to use good essential oils. Please check your labels to make sure then can be used on your body. I use Young Living essential oils because of their Seed to Seal guarantee that promises that the materials used in the oils are genuine, no chemicals were used on the plants as they grew, no chemicals or fillers were added during the distilling or packaging process. Young Living Seed Seal Guarantee: https://www.youngliving.com/en_US/discover/seed-to-seal Recipe for Bug Spray:
Please respond about your experiences making and using this bug repellent! Resources: https://organicaromas.com/blogs/aromatherapy-and-essential-oils/diy-natural-mosquito-repellent-using-essential-oils http://info.achs.edu/blog/green-cleaning-10-essential-oils-that-naturally-repel-insects https://www.youngliving.com/en_US/products/premium-starter-kit-with-dewdrop https://www.amazon.com/Sprayers-Mavogel-Including-Stainless-Transfer/dp/B01MZWV879/ref=sr_1_41_a_it?ie=UTF8&qid=1531096382&sr=8-41&keywords=glass%2Bspray%2Bbottle&th=1 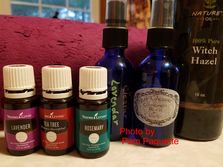 This question was raised after a recent yoga class. It is a necessity to clean our mats on a regular basis to keep them smelling nice and looking fresh.
Important tip: Yoga mats have a "stickiness" to them so we don't slip as we practice. To protect the stickiness of our mats we are careful to use mild soaps and other cleaning ingredients. I learned the hard way when I used a yoga mat spray that included Thieves and Purification essential oils. This is a great smelling cleaner. However, after a few uses, I noticed I was slipping during Downward Dog. It turns out, Thieves contains lemon essential oil. The citrus oils are know to affect plastics and rubber. So be careful. Tip: Yoga mats have evolved over time and are now made with varying textures and materials. What works with one may not with another. Some manufacturers post cleaning instructions on their websites. So here we go: 1. Gaia.com recommended to spray your mat with a hose or rinsing in a bath tub. Then hang it to dry. Remember the wetter and thicker your mat is, the longer it will take to dry. So plan ahead so you will have your mat for class. Warning: Avoid hanging your mat in direct sunlight as it may over dry your mat. 2. Some websites recommend washing your mat in a washing machine with mild soap. Be aware some mats may not do well with the agitation. A front load washer may be better. Do not use a clothes dryer. Great idea to ring out your mat: Lay your mat on a towel. Roll up the towel and mat. Apply pressure to the roll to squeeze out water. Unroll mat and hang dry. 3. In a spay bottle mix 2 cups of water and 4 cups of dish soap. Using a damp sponge or terry cloth rag rub soiled areas. Wipe your mat clean with water and rub with a dry terry cloth towel. Hang to dry. 4. Make a solution of water and white vinegar using a 50/50 mix to clean your mat. This mix naturally disinfects. One website said the water/vinegar mix will restore the texture and color of a mat made of natural tree rubber. 5. Make a cleaning solution with essential oils which disinfects, cleans and smells nice. Ingredients: 3/4 C water 1/4 C alcohol-free Witch Hazel or White Vinegar 10 drops Lavender Essential Oil & 3 drops Tea Tree (Melateuca) Essential Oil* 2 OZ (60 ml) Glass Spray Bottle - tinted preserves essential oils 1. Combine all ingredients. 2. Shake until combined. 3. Spray on mat & wipe dry with towel *Other possible Essential Oils: Eucalyptus Radiata, Eucalyptus Globulus, Purification, Thyme, Lemongrass, Peppermint Please use quality essential oils. Some oils contain added chemicals and perfumes. I use Young Living Essential Oils. 6. There are manufactured wipes and cleaners for mats. My husband bought some wipes for me at the local dollar store! I hope this is helpful for you. Please respond with your experiences cleaning your mat! PS: I used the Essential Oil spray on my blocks too! Many of my Chair Yoga students have asked me to post some chair yoga videos. This is a similar version of Sunsalutation to what we do in class. Steve Wolf does a great job guiding us into each pose. |
AuthorI enjoy yoga as it brings peace to my life. Teaching yoga has brought joy to my life and given me a chance to encourage others in learning yoga. Archives
July 2020
Categories
All
|
 RSS Feed
